
1. You will need to install the following pre-requisites.
- Install a Windows 2025/2022 Server Standard or Datacenter Desktop Experiance
- Provision a 2 1TB data disks with the following configuration
- Disk 1: 10% for the Metadata volume (F:) & 90% for the Snapshot volume (Hidden)
- Disk 2: 100% for the Cache volume (G:)
- *** NB - For more deatils go to the following KB Artical***
- ASP.NET Core Runtime 8.0.26 - Click Here
- .NET Desktop Runtime 8.0.26 - Click Here
-
.NET Runtime 8.0.26 - Click Here
-
Microsoft Visual C++ Redistributable - Click Here
2. Download the latest software release from the following link.
- To download the latest CAEVES - Click Here
3. Install the CAEVES software.
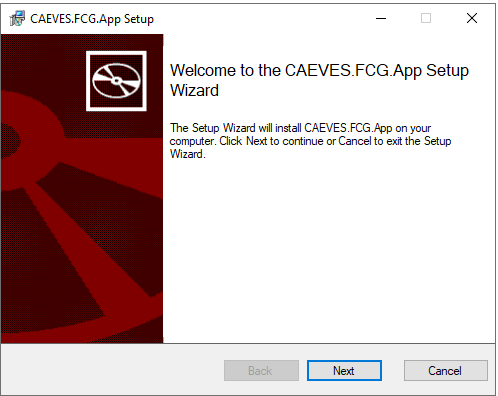
1. Launch Installation MSI, click next after welcome screen
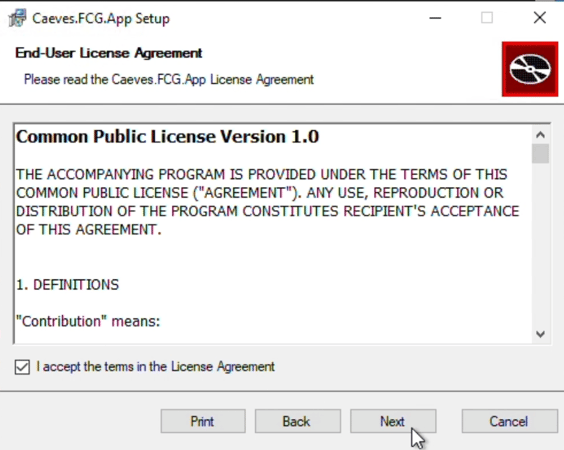
 2. Read & Accept license agreement and click next
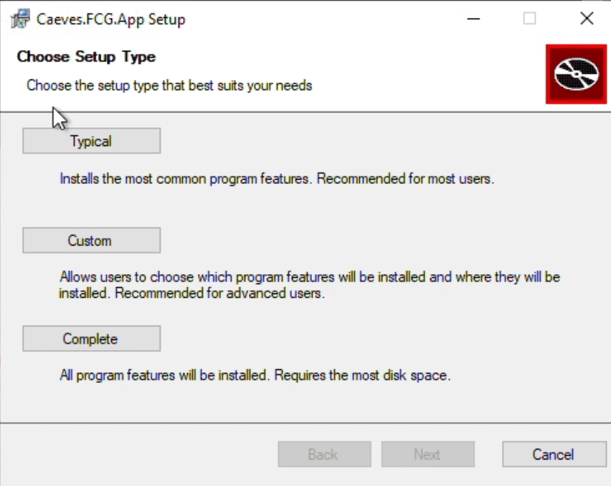
3. Chose the installation type as Typical
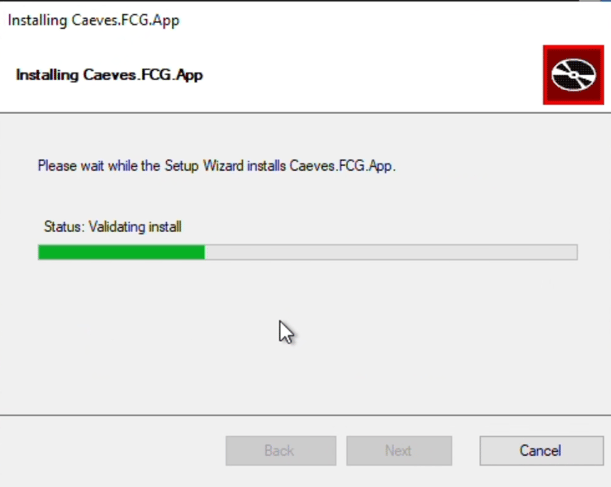
4. Allow the installation to finish
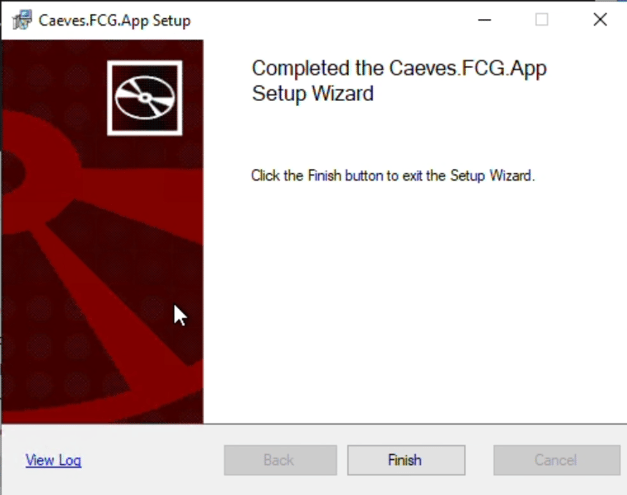
5. Click Finish to complete the installation
4. Configure your CAEVES instance.
1. Launch Configuration UI from the desktop

2. License Configuration
- Click on License Configuration
- Enter SaaS subscription ID
- Click submit

3. Object Storage Configuration
- Go to Object Storage Configuration and click Add
- Enter the required parameters
***All these details can be found in the Azure Portal***

4. Check that the connector is Healthy and running

5. Volume Configuration
Go to the Volume Configuration and Click add for the Metadata Volume
- Change the drive letter to F:\ for the metadata volume.
- Select the Primary and Secondary Endpoints
- Click Apply

6. Metadata Snapshot frequency and Cache Folder Configuration
In the Advanced Configuration, click Edit under snapshot frequency

Set Snapshot Frequency = 24hr and Click Apply configuration

In the Advanced Configuration, Add the cache folder

-
Enable Migration Mode using the checkbox if you want cache files deleted immediately after upload.

CAEVES manual deployment completed successfully.