Prerequisites
-
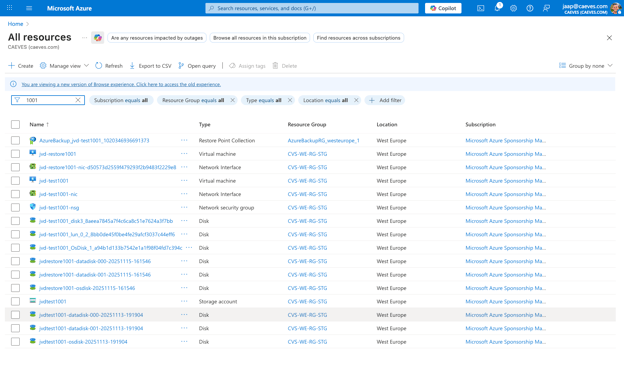
Existing Recovery Services vault with backups of the source VM containing the CAEVES instance.
-
Appropriate Azure permissions:
-
Contributor or Owner access on the subscription and resource group.
-
Backup Operator role on the Recovery Services vault.
-
Step-by-Step Procedure
Step 1: Open the Azure Portal
-
Go to https://portal.azure.com.
-
Sign in with your Azure credentials.
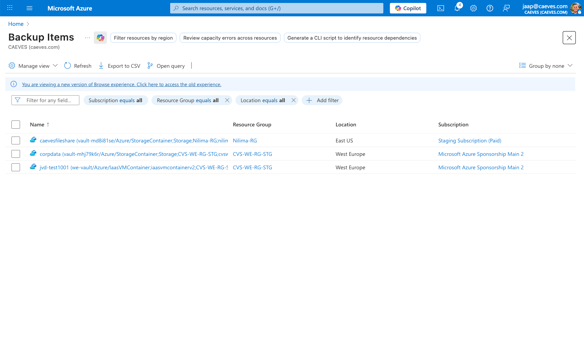
- Navigate to Home → Backup Items.
Step 2: Locate the Backup Item
-
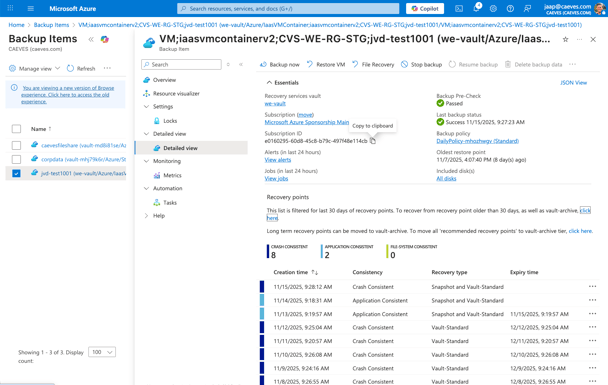
Select Backup Item
Step 3: Initiate the Restore
-
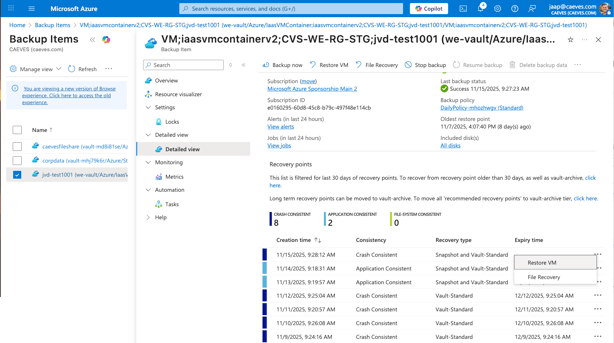
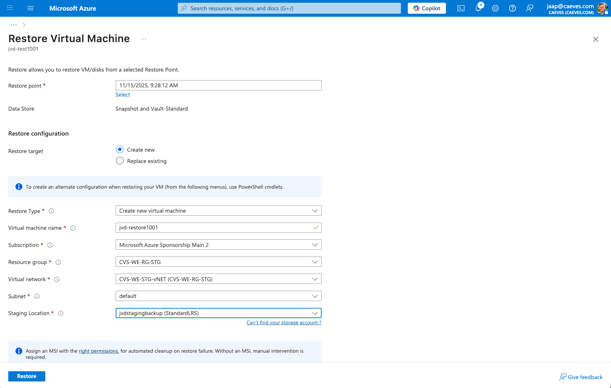
Click Restore VM
-
In the Restore configuration pane:
-
Select the Restore type (Create new VM or Restore Disks).
-
Choose the Target VM name (for new VM, provide a unique name).
-
Select Target Resource Group (the resource group for the new VM).
-
Confirm other settings such as Virtual Network and Subnet.
-
-
Click Restore to start the process.
Step 4: Monitor the Restore Job
-
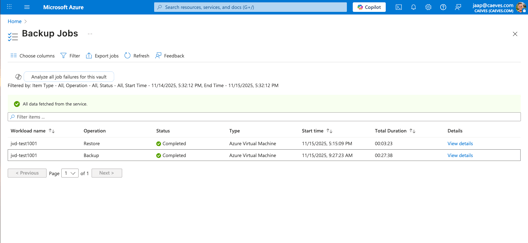
Navigate to Backup Jobs.
-
Monitor the status of the restore operation.
-
Status should change from In Progress → Completed.
-
-
After completion, verify the restored VM.
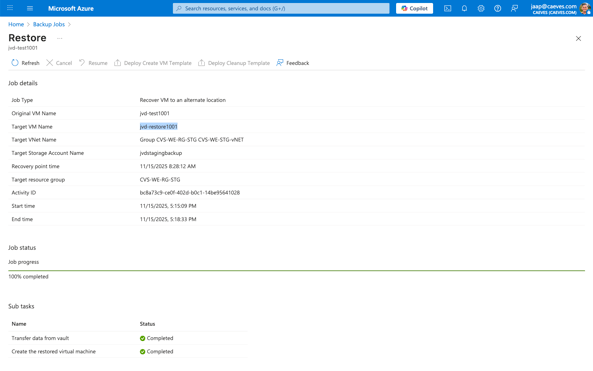
- After completion, verify the restored VM exists under the selected resource group.